Baking for Beginners: Easy Recipes to Master
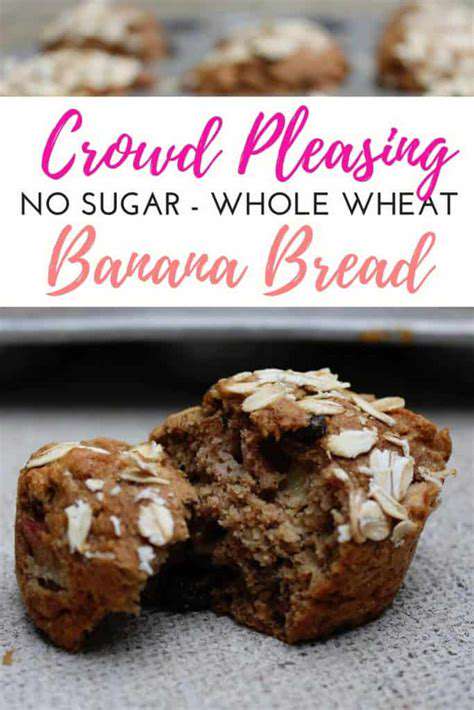
Quick & Easy Banana Bread: A Crowd-Pleasing Delight
A Simple Delight
Nothing beats the comforting aroma of banana bread wafting through the kitchen. This particular recipe has become my go-to when I need something both simple and satisfying. What makes it truly special is how effortlessly it comes together, even for those just starting their baking journey. The beauty lies in its adaptability - a handful of nuts or chocolate chips can transform it into something entirely new.
Overripe bananas, often destined for the compost bin, find new purpose here. Their natural sweetness intensifies during baking, creating a moist crumb that's hard to resist. I've found this recipe particularly useful when unexpected guests arrive, as it requires minimal prep time yet delivers maximum flavor.
Ingredients & Equipment
My grandmother always said baking success starts with quality ingredients. For this recipe, I recommend using bananas with plenty of brown spots - they mash easily and pack the most flavor. A good loaf pan makes all the difference; I prefer ceramic for even heat distribution. The basic tools - a sturdy mixing bowl, reliable measuring cups, and a trusty wooden spoon - are all you really need.
Through trial and error, I've learned that room temperature ingredients blend more smoothly. Taking the eggs out an hour before baking helps create a more uniform batter. And don't skimp on the baking soda - it's crucial for that perfect rise.
Preparation Steps
The process couldn't be simpler. I start by mashing the bananas with a fork, leaving some small chunks for texture. Combining the wet ingredients first creates a smooth base, then I gently fold in the dry ingredients. The key is stopping the moment the flour disappears - overmixing leads to tough bread. I sometimes add a teaspoon of vanilla extract for extra depth of flavor.
Baking Instructions
My oven tends to run hot, so I always use an oven thermometer. Baking at 350°F (175°C) for about 55 minutes works perfectly in my kitchen. The toothpick test never fails - when it comes out with just a few moist crumbs, the bread is done. I've learned the hard way that rushing the cooling process results in a gummy texture, so patience is essential.
Tips & Variations
For special occasions, I'll swirl in some Nutella or peanut butter before baking. Brown sugar instead of white creates a deeper caramel flavor that pairs beautifully with walnuts. When I'm feeling adventurous, a pinch of cardamom or ginger adds an unexpected twist. The recipe's simplicity makes it perfect for getting children involved in the kitchen too.
Leftovers (if there are any) make excellent French toast. I slice it thick, dip in egg mixture, and fry in butter until golden. It's become our family's favorite weekend breakfast treat.
Mastering Basic Frosting Techniques
Essential Frosting Tools and Techniques
When I first started decorating cakes, I quickly realized the importance of proper tools. A good offset spatula became my best friend - its angled blade makes smoothing frosting almost effortless. Through countless birthday cakes, I've learned that holding the spatula at a 45-degree angle creates the smoothest finish. Piping bags intimidated me initially, but starting with basic round tips helped build my confidence.
Practice truly makes perfect when it comes to frosting. I keep a stack of parchment squares to test consistency and technique before touching the actual cake. Rotating the cake stand rather than moving the spatula creates more even coverage. For beginners, I recommend starting with a crumb coat - that thin initial layer that traps crumbs - before applying the final coat.
Frosting Consistency and Application
The perfect frosting consistency should hold its shape but still spread easily. I test by making a small peak - if it stands upright but the tip curls over slightly, it's just right. Adding liquid one teaspoon at a time prevents over-thinning. In humid weather, I reduce the milk slightly to compensate. For chocolate frosting, I sift the cocoa powder to avoid lumps that can clog piping tips.
Temperature control matters more than I initially realized. Cold cakes cause frosting to set too quickly, while warm cakes make it slide right off. I've found letting cakes cool completely, then refrigerating for 30 minutes creates the ideal surface. When piping borders, consistent pressure is key - I count silently to maintain even beads or shells.
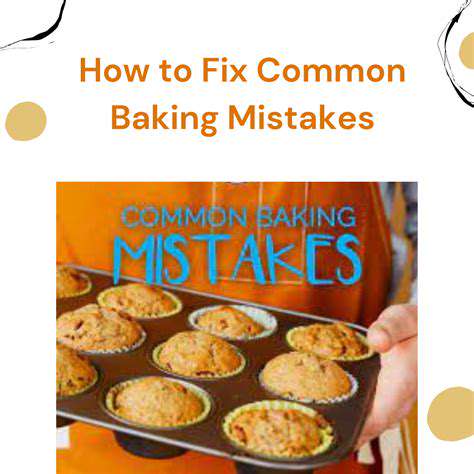
Tips for Baking Success: From Ingredient Quality to Oven Temperature
Ingredient Quality: The Foundation of Flavor
After several baking disasters, I now understand why professional bakers emphasize ingredient quality. Fresh baking powder makes cookies rise properly, while stale powder leaves them flat. I've switched to European-style butter for its higher fat content - the difference in flavor and texture is remarkable. Vanilla beans, though expensive, transform simple recipes into something extraordinary.
Measuring Ingredients Accurately: A Critical Step
My baking improved dramatically when I started weighing ingredients instead of using cups. Flour can vary by 25% depending on how it's scooped! Now I keep a kitchen scale on my counter at all times. For small measurements like baking soda, I use measuring spoons but always level them off with the back of a knife.
Oven Temperature Control: Ensuring Even Baking
Discovering my oven ran 25 degrees hot changed everything. Now I preheat for at least 30 minutes and use an oven thermometer to verify. Rotating pans halfway through baking prevents uneven browning. For delicate items like macarons, I even place a pizza stone on the rack below to regulate temperature spikes.
Understanding Baking Techniques: Mastering the Art
The ribbon stage confused me until I watched a chef demonstrate properly whipped eggs and sugar. Now I can recognize when the mixture falls from the beaters in thick ribbons that hold their shape. Folding technique took practice - I ruined many soufflés before learning to cut through the center and sweep up the sides gently.
- Storing Potatoes: Prevent Sprouting
- Healthy Meal Prep for Weight Loss: 5 Days of Deliciousness
- Smart Food Storage: Keep Your Groceries Fresh Longer
- Exploring Italian Pasta Dishes: Beyond Spaghetti Bolognese
- Decadent Chocolate Chip Cookies: The Secret to Perfect Chewyness
- Cooking with Instant Pot Vortex: Air Fryer and More
- Quick Weeknight Meals: From Pantry to Plate
- Storing Rice and Grains: Pantry Best Practices